
I keep track of what our groceries cost (I'm not an all-out coupon girl, but I'm pretty frugal, if I do say so myself) and throwing away food adds up pretty quickly. The average American throws out anywhere from 25% to 40% of the food they buy. Dang, that's a stinkin' lot! As a farmer's daughter, I actually know the kind of hard work that goes into putting food on the table, which only adds to my disappointment when I am forced to chuck something out.
So what's a girl to do? Simple. Use the food before it goes bad. Easier said than done though, right? Around here, our Achilles' heel is bread. Sandwiches are good, but we make one or two, then the rest of the loaf just sits around. It also doesn't help that I like experimenting with different bread recipes that don't always turn out like I'd hoped. Bread is a fickle beast, no?
Cue today's recipe:

Here is my favorite way to re-purpose bread that has gone stale. In fact, it works best with stale bread.

I find the bread clumps up and gets all gunky if it's too moist. If you're using fresh bread and in a rush, just put it in the oven at a low temp for 15 minutes or so. Just enough to take some of the moisture out. You could also lightly toast it, but that takes a long time if you've got a big batch.

Break the bread up into chunks and throw it in a food processor. Yes, I'm using a coffee grinder. Yes, I know I shouldn't do that. It will be fine. I promise.
Grind it up to your preference. I like them a little bit on the coarse side, because I primarily use them as breading. Use your best judgement.
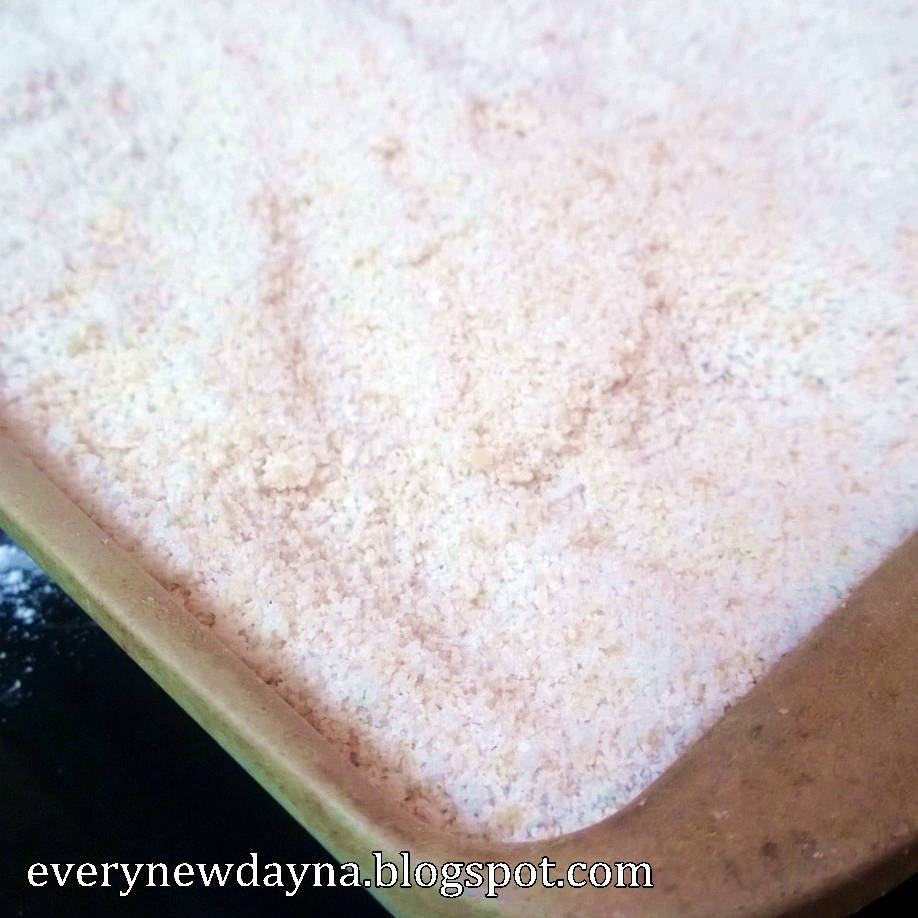
Bake at 350 for 30 minutes, or until they have a nice golden brown color. Stir them at least once so they bake evenly. When they are done, they no longer clump together and feel a little like coarse sand.

Ready to go!
You can bake more or less depending on your preference. Remember that these will bake more when you use them in recipes, so don't overdo it. We're just trying to remove all the moisture from them, really.

These keep about a month in dry storage, or up to a year in the freezer, provided no significant moisture gets in. The best part about freezing them is that there is no need to thaw before you use them!
Mine are all set! They're just sitting around in the cabinet now, ready for some baked chicken or crispy casserole!
Enjoy!

No comments:
Post a Comment